Showing posts with label ASL. Show all posts

Tuesday, January 13, 2026

ASL Adventures: Learning Space Signs – Moon, Star, Rocket, and Astronaut


ASL Adventures: Learning Space Signs – Moon, Star, Rocket, and Astronaut

Alright, fellow chaos wranglers and tiny human explorers, it’s time to blast off into sign language in outer space! Yes, your hands can become rockets, stars, and moons—and no, it won’t be neat, but it will definitely be memorable.

*Some of the signs don't exactly match the GIF. What I posted is just a simpler version you can do with your kids, or you can use the GIF's provided*

Moon 🌙
How to sign it:
Make a “C” shape with your dominant hand (like you’re holding a crescent moon).
Place it sideways in front of your face or slightly off to the side, as if cradling a tiny moon.
Optional motion: gently rock your hand back and forth to show the moon orbiting.


Fun twist: Pretend your hand-moon is orbiting your head or floating in space. Toddlers love it when you make it “glow” with your other hand wiggling like starlight.

Why it’s fun: It’s tactile, visual, and perfect for talking about moon phases, astronauts, or moon cheese conspiracies. 🧀✨

Star ⭐
How to sign it:
Point your dominant index finger straight up.
Wiggle your finger side to side or in little circles to make it “twinkle.”

Optional: use your other hand in the background to mimic other twinkling stars for extra cosmic drama.


Fun twist: Count stars while signing, or create imaginary constellations. Encourage your kids to make up their own, like Glitterpants, because chaos = creativity.

Why it’s fun: Fingers get wiggly, kids get to imagine sparkling stars, and you sneak in counting and fine motor skills.

Rocket 🚀
How to sign it:
Put your hands together, palms touching, fingers straight and together—like a pencil or a rocket shape.
Point the rocket shape forward, and move it quickly upward in a “launch” motion.

Optional: add “whoosh!” sound effects, or wiggle your fingers like flames shooting out of the rocket boosters.


Fun twist: Have the kids sign the rocket while actually “launching” toys, balloons, or even your cat’s favorite laser pointer across the room.

Why it’s fun: It teaches motion visually, adds drama and sound, and connects ASL with STEM in a playful way.

Astronaut 👩‍🚀
How to sign it:
Make a fist with your dominant hand and tap it lightly to your forehead—this represents the astronaut’s helmet.
Extend your other hand outward, palm down, like you’re floating in zero gravity.

Optional motion: slowly “float” around the room while keeping the helmet hand in place, as if drifting through space.

*I could not for the life of me find a GIF for this one*

Fun twist: Pretend your rug is the moon’s surface and your toys are alien life. Bonus: have a mini space mission story while signing to combine ASL and imagination.

Why it’s fun: Kids love roleplay, it’s memorable, and it’s a perfect excuse to move around while practicing language.

Pro Tips for Cosmic Chaos:

Repeat signs while narrating a tiny space story: “The astronaut zooms past the moon and winks at a twinkling star before blasting into a rocket!”

Mix in sensory experiences—point to glow-in-the-dark stars, hold a small planet, or pretend to float in zero gravity.

Encourage little explorers to invent their own space signs. Chaos = learning.

Final Thoughts:

Learning ASL doesn’t have to be stiff or formal—it can be messy, magical, and totally cosmic. Your hands can tell the story of the universe: the moon, the stars, rockets, and brave little astronauts. And the best part? Kids will remember the signs forever because they acted it, felt it, and laughed through it.

So, ready for lift-off? 🤟🚀🌌✨
Thursday, August 14, 2025

ASL Mini-Pack #2: Dolphin, Whale, Jellyfish, Octopus, Sea Turtle


Today we're going to be learning how to sign dolphin, whale, jellyfish, octopus, and turtle!

Learning animal signs in American Sign Language (ASL) is a fun, visual way to build vocabulary. This mini-pack focuses on five popular ocean animals: Dolphin, Whale, Jellyfish, Octopus, and Turtle. Each sign uses clear handshapes and motions that resemble the animals themselves, making them easy to remember.

Dolphin

Handshape: Start with your dominant hand in the “D” handshape (index finger up, middle-ring-pinky touching the thumb).

Location: Hold the hand palm-down near the side of your other hand (which acts as “water”).

Movement: Make a small arching jump motion (like a dolphin leaping out of water) across your non-dominant flat hand.

Tip: Think of your “D” hand as the dolphin cresting a wave.


Whale

Handshape: Use one flat hand to represent “water” and your other hand in the shape of a tail (thumb and pinky extended, other fingers closed).

Placement: Hold the flat “water” hand horizontally in front of you. Position the “tail” hand above or behind it.

Movement: Sweep the “tail” hand upward in a gentle arc, as if a whale’s tail is rising out of the water.


Jellyfish

Handshape: Start with your dominant hand’s fingers spread out (like a 5-hand).

Movement: Make a wavy, dangling motion downward to represent the tentacles of a jellyfish.

Non-Dominant Hand: Some versions use the non-dominant hand in a flat “C” shape above, representing the jellyfish dome, while the dominant hand wiggles down below.

Tip: The key is the flowing, floating movement of the tentacles.


Octopus

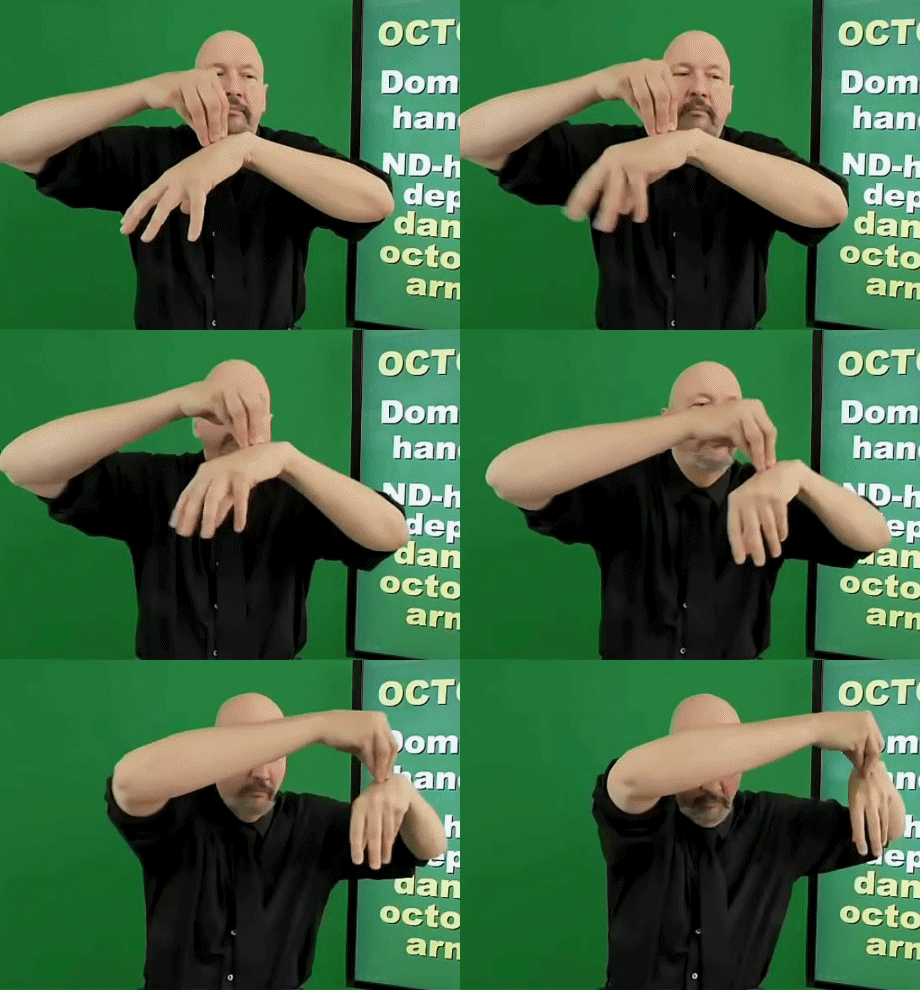
Handshape: Place your dominant hand in a flat “O” shape on top of your non-dominant hand, which is open and palm down.

Movement: Wiggle the fingers of the non-dominant hand, representing the octopus’ tentacles under its head.

Alternative: Some signers use both hands as tentacles, but the flat “O” head with wiggly “tentacles” underneath is common.


Sea turtle

Handshape: Form both hands into loose fists, thumbs extended (like an “A” hand with thumb out).

Placement: Place your non-dominant fist in front of you, palm facing down. Position your dominant fist on top of it, thumbs crossing.

Movement: Wiggle both thumbs to mimic a turtle’s flippers moving, while keeping the hands stacked to suggest the turtle’s shell.

Variation: Some signers first sign “SEA” (wave-like motion with a flat hand) before making the turtle sign for clarity, especially in teaching or storytelling.


Why Use Animal Signs?

Memory Boost: Animal signs are highly iconic, making them easy to remember.

Visual Learning: Perfect for kids, homeschoolers, and co-op groups.

Communication Skills: Expand vocabulary for both ASL beginners and kids who benefit from sign-supported learning.


ASL vintage title art Ocean title art

Monday, August 4, 2025

ASL: Water, Ocean, Fish, Shark, Coral Reef


Today we're going to be learning how to sign water, ocean, fish, shark, and coral reef!

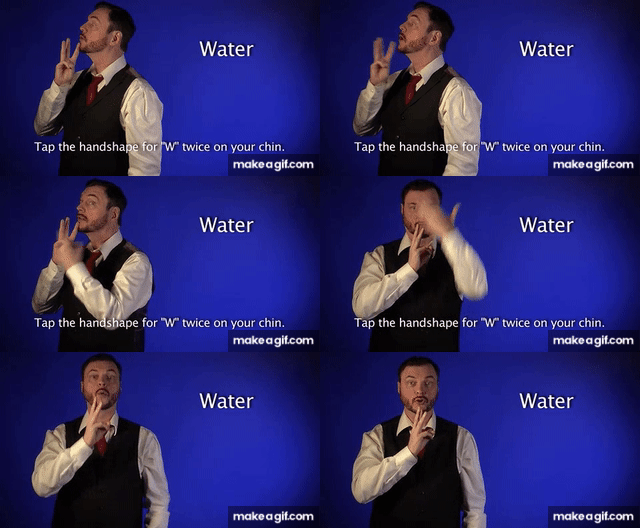
WATER
Handshape: "W" handshape (index, middle, and ring fingers up, thumb tucked, pinky down).
Location: Near the mouth/chin area.
Movement: Tap the index finger of the "W" handshape on your chin or side of your mouth 2–3 times.
Tip: Think of “water” touching your lips.


OCEAN
Two-part sign: Combine WATER + WAVE.
Sign WATER (as above).
Then, immediately move both open "5" hands (palms facing down) in a side-to-side wavy motion to represent waves rolling.


FISH
Handshape: Flat hand (like a "B" handshape).
Movement: Place your dominant hand sideways in front of you (palm facing left or right, fingers pointing forward).
Motion: Wiggle your hand back and forth at the wrist like a fish swimming.
Tip: It’s like your hand is a fish gliding through the water.


SHARK
Handshape: Flat hand ("B" handshape).
Movement: Place your flat hand vertically on your forehead, fingers pointing up, as if your hand is the shark fin.
Motion: Move your hand slightly forward in a small glide, representing a shark swimming with its dorsal fin showing.
Tip: Think of the fin cutting through the water.


CORAL REEF
(There’s no single standard sign — it’s a compound concept.)
CORAL: Often fingerspelled C-O-R-A-L or described using FISH + ROCK/PLANT depending on context.
Alternative descriptive sign: Use FISH, then show both hands (5-handshapes) wiggling fingers to mimic coral shapes.
REEF: Sign ROCK (dominant fist taps on the back of the non-dominant fist) to indicate a reef or structure.
Combined: You could sign FISH + ROCK + WIGGLING HANDS to describe “coral reef,” or simply fingerspell C-O-R-A-L R-E-E-F if clarity is needed.


ASL vintage title art Ocean title art

Wednesday, April 30, 2025

May Blog schedule and homeschool theme- Gardening


My adventures in homeschooling my kiddos.

Mays themes are spring, gardening, and insects. This post is all about the gardening theme! 
The spring one is already posted and the insect one will be posted shortly

I will do another post for the S.T.E.A.M. projects.

Foods:
Gardening:
"Dirt" Pudding Cups with Gummy Worms: Layer chocolate pudding and crushed chocolate cookies (like Oreos) in clear cups. Top with a few gummy worms peeking out for a fun "garden" theme. You could even add a mint leaf sprig.

"Vegetable Garden" Crudités: Spread hummus or ranch dip in a shallow dish. Sprinkle finely chopped parsley or black olives over the top for "dirt." "Plant" vegetable sticks like carrots, celery, bell peppers, and broccoli florets upright in the dip.

"Potted" Herb Dip with Veggie Sticks: Serve a creamy herb dip (like dill, chive, or green goddess) in small, clean terracotta pots lined with lettuce leaves. Surround with "planted" vegetable sticks (carrots, celery, cucumber, bell peppers) and cherry tomatoes.

Garden Fresh Salsa: Made with diced tomatoes, onions, cilantro, and jalapeños.

Flower Petal Salad: A salad with edible flowers, mixed greens, and a light dressing.

Spring Greens Salad with Edible Flowers: A vibrant salad using tender lettuce, spinach, arugula, shaved radishes, asparagus ribbons, toasted nuts/seeds, and garnished with edible flowers like pansies or nasturtiums. Serve with a light lemon vinaigrette. 

Grilled "Garden Bounty" Platter: Grill an assortment of seasonal vegetables (asparagus, zucchini, bell peppers, corn on the cob, red onion wedges, maybe even artichoke halves) marinated in herbs and olive oil. Serve alongside grilled chicken, fish, halloumi cheese, or veggie burgers.

Vegetable Patch Tart or Galette: A savory tart filled with layers of spring vegetables like sliced zucchini, tomatoes, asparagus spears, caramelized onions, herbs (thyme, oregano), and goat cheese or feta, baked in a rustic crust. You could even make a lattice top.

"Build-Your-Own" Garden Bowls: Start with a base of quinoa, farro, brown rice, or mixed greens. Offer toppings like roasted sweet potatoes or new potatoes, chickpeas, black beans, corn salsa, sliced avocado, cucumber, tomatoes, shredded carrots, sprouts, pickled onions, toasted seeds, and a variety of herb-based dressings (green goddess, lemon-tahini, cilantro-lime).

"Flower Bed" Fruit Pizza: A large sugar cookie crust topped with cream cheese frosting and artfully arranged fresh fruit (kiwi, berries, grapes, melon) to resemble flowers in a garden.

Berry Patch Parfait: Layers of yogurt or whipped cream, granola ("dirt"), and fresh berries in clear glasses.

Crafts: 
Gardening:
Flower Pots: Let them decorate small pots with stickers or paint, then plant some easy flowers or herbs.

Paper Plate Gardens: Use paper plates to create a garden scene with colorful paper flowers and grass.

Seed Art: Use different seeds glued onto paper to create fun patterns or shapes. 

Flower Seed Bombs: Mix wildflower seeds with clay and compost, then shape them into balls to plant later.

"Planting" Flowers in Playdough: Let your toddler poke the flower stems into the playdough, pretending to plant them. 

Mud Kitchen Fun: Let your toddler scoop, pour, and mix the soil and water. 

Painting with Mud: Let your toddler "paint" with the mud on the paper. This is a unique sensory experience. 

Painted Rocks as Garden Markers: Let your toddler paint the rocks. You can later (with adult help) add simple drawings or letters to represent pretend plants in a play garden.

DIY Garden Markers:
Materials: Flat rocks, wooden craft sticks, ceramic tiles, permanent markers, acrylic paints, sealant (for rocks and tiles).

Mason Jar Herb Garden: Plant herbs in the mason jars and decorate them with labels and twine. This is a practical craft that can be used indoors or outdoors.

Tire Planters: Clean and paint old tires in bright colors or creative designs to repurpose them as unique planters. 

Plastic Bottle Greenhouse (Mini): Cut the bottom off the bottles and use the top portion to create mini greenhouses over small seedlings in pots.

Sensory Bin:
Digging in the Dirt Garden:
Base: Clean potting soil (ensure it's safe and not too dusty), cocoa powder mixed with rice for a darker "dirt," or shredded brown paper.
Sensory Elements: Small toy gardening tools (spade, rake, watering can), smooth river stones, plastic or wooden plant markers, toy worms, small empty pots.
Activities: Digging in the "dirt," planting the markers, finding worms, filling pots with "soil."

Colorful Veggie Patch:
Base: Dried pasta (painted in various vegetable colors like orange for carrots, red for tomatoes, green for peas), dried beans, or colored rice.
Sensory Elements: Small toy vegetables (carrots, peas, corn, tomatoes), small baskets or containers for "harvesting," green pipe cleaners (vines).
Activities: "Planting" and "harvesting" the vegetables, sorting them by color or type, creating "vines" with pipe cleaners.

Water and Mud Garden (Supervised Water Play):
Base: Shallow tub of water with a small amount of safe, clean mud mixed in (optional, for a muddy feel).
Sensory Elements: Small toy watering can, plastic flowers and leaves that float, toy frogs and ducks, smooth stones, small cups for pouring.
Activities: Splashing, pouring, floating items, pretending to water the plants. (Requires very close supervision due to water)

Herb Garden Exploration:
Base: Dried herbs (like rosemary, thyme, lavender - ensure they are safe for smelling and touching), dried leaves.
Sensory Elements: Small bowls with different dried herbs for smelling, small scoops, smooth stones, small plant labels.
Activities: Exploring the different scents of the herbs, scooping and mixing them, labeling the "plants."

Seed Sorting and Planting:
Base: A mix of different dried beans, lentils, and large seeds (like pumpkin or sunflower - ensure they are not a choking hazard).
Sensory Elements: Small bowls for sorting, small toy pots, mini gardening tools.
Activities: Sorting the "seeds" by size or color, pretending to plant them in the pots.

Activities:
Start a Vegetable Seedling Garden: Plant seeds indoors for vegetables like tomatoes, peppers, or herbs that will be transplanted outdoors later in the spring. Learn about the germination process and proper care for seedlings.

Create a Container Garden: Plant a variety of flowers or herbs in pots and learn about soil, watering, and sunlight requirements for container gardening.

Learn Basic Grafting Techniques (with supervision): If you have fruit trees, learn about the basics of grafting and potentially try a simple graft with adult supervision.

Build a Terrarium: Create a miniature enclosed garden in a glass container and learn about the water cycle and plant ecosystems within a closed environment.
Investigate Seed Dispersal: Collect different types of seeds and research the various ways they are dispersed (wind, water, animals). Design experiments to test dispersal methods.

Garden Art: Use washable paint to create flower pots or garden decorations with their handprints.

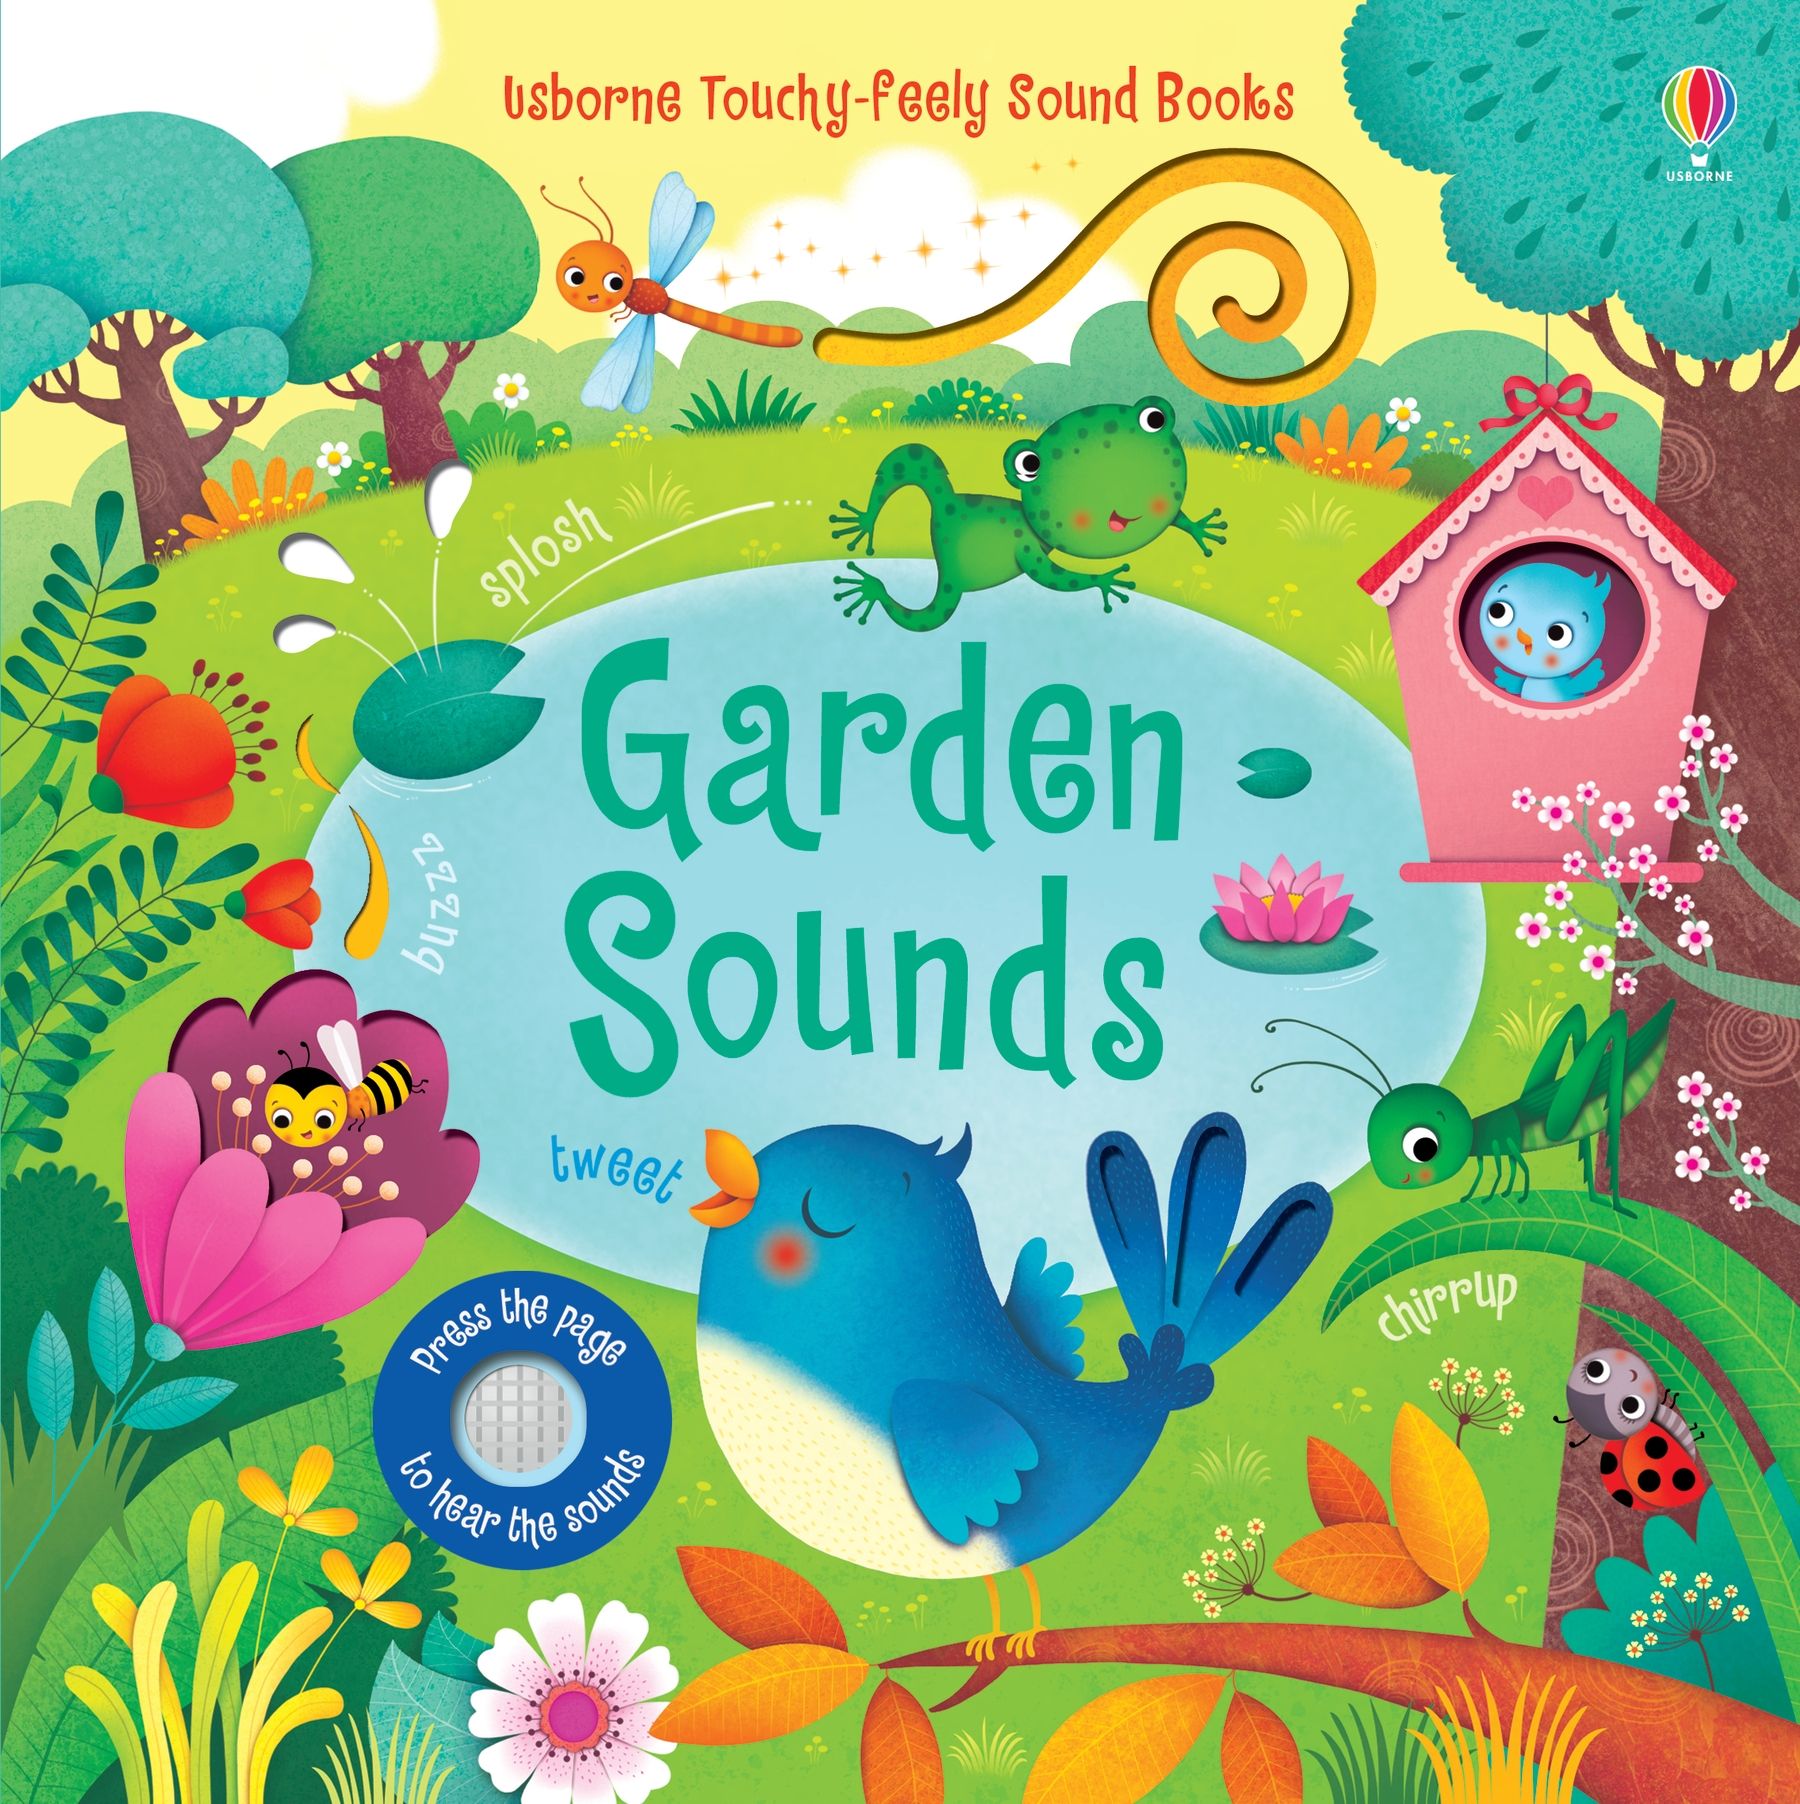
Storytime: Read garden-themed books together, focusing on colorful illustrations and simple stories.

Create a Garden Journal: Encourage them to document their gardening journey, including planting dates, growth progress, and observations about plants and insects.

Design a Garden Layout: Let them plan their own garden layout on paper, deciding where to plant different flowers or vegetables.

Start a Compost Bin: Teach them about composting and let them help set up a compost bin for the garden.

Grow Herbs: Start an herb garden and let them choose which herbs to grow. They can use them in cooking later!

Research Topics:
The benefits of companion planting: which plants grow well together and why?

How do different types of soil affect plant growth?

The role of pollinators in a garden:
why are they important?

Exploring different types of vegetables:
what grows best in your area?

The life cycle of a plant:
from seed to harvest.

Organic gardening vs. conventional gardening:
what's the difference?

Books: 
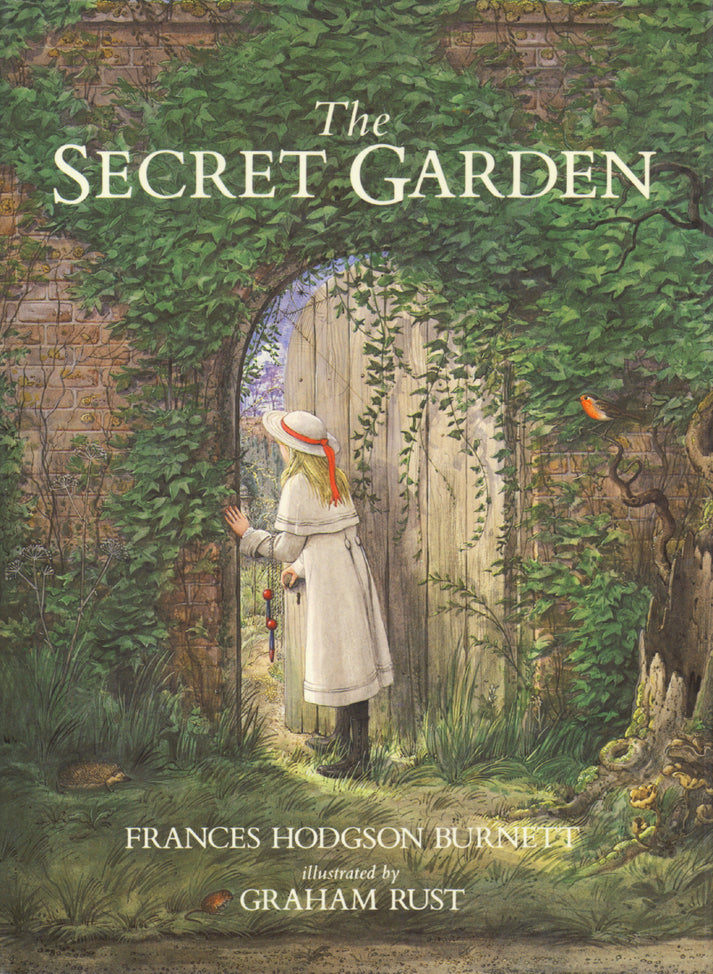
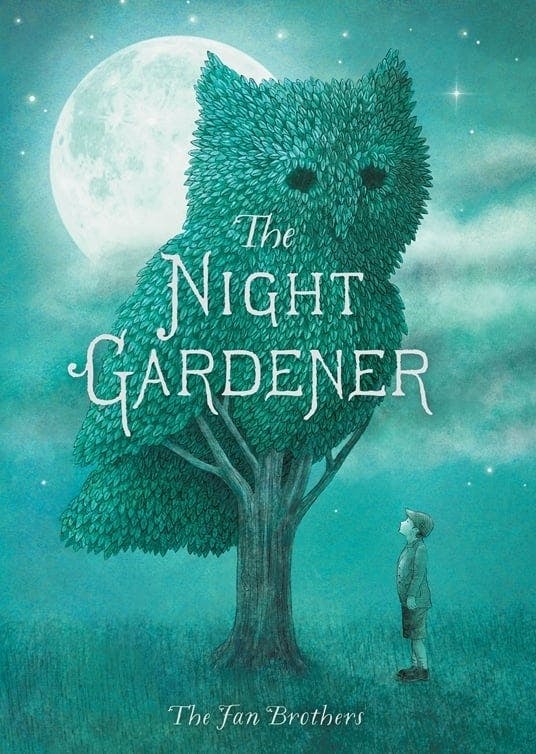
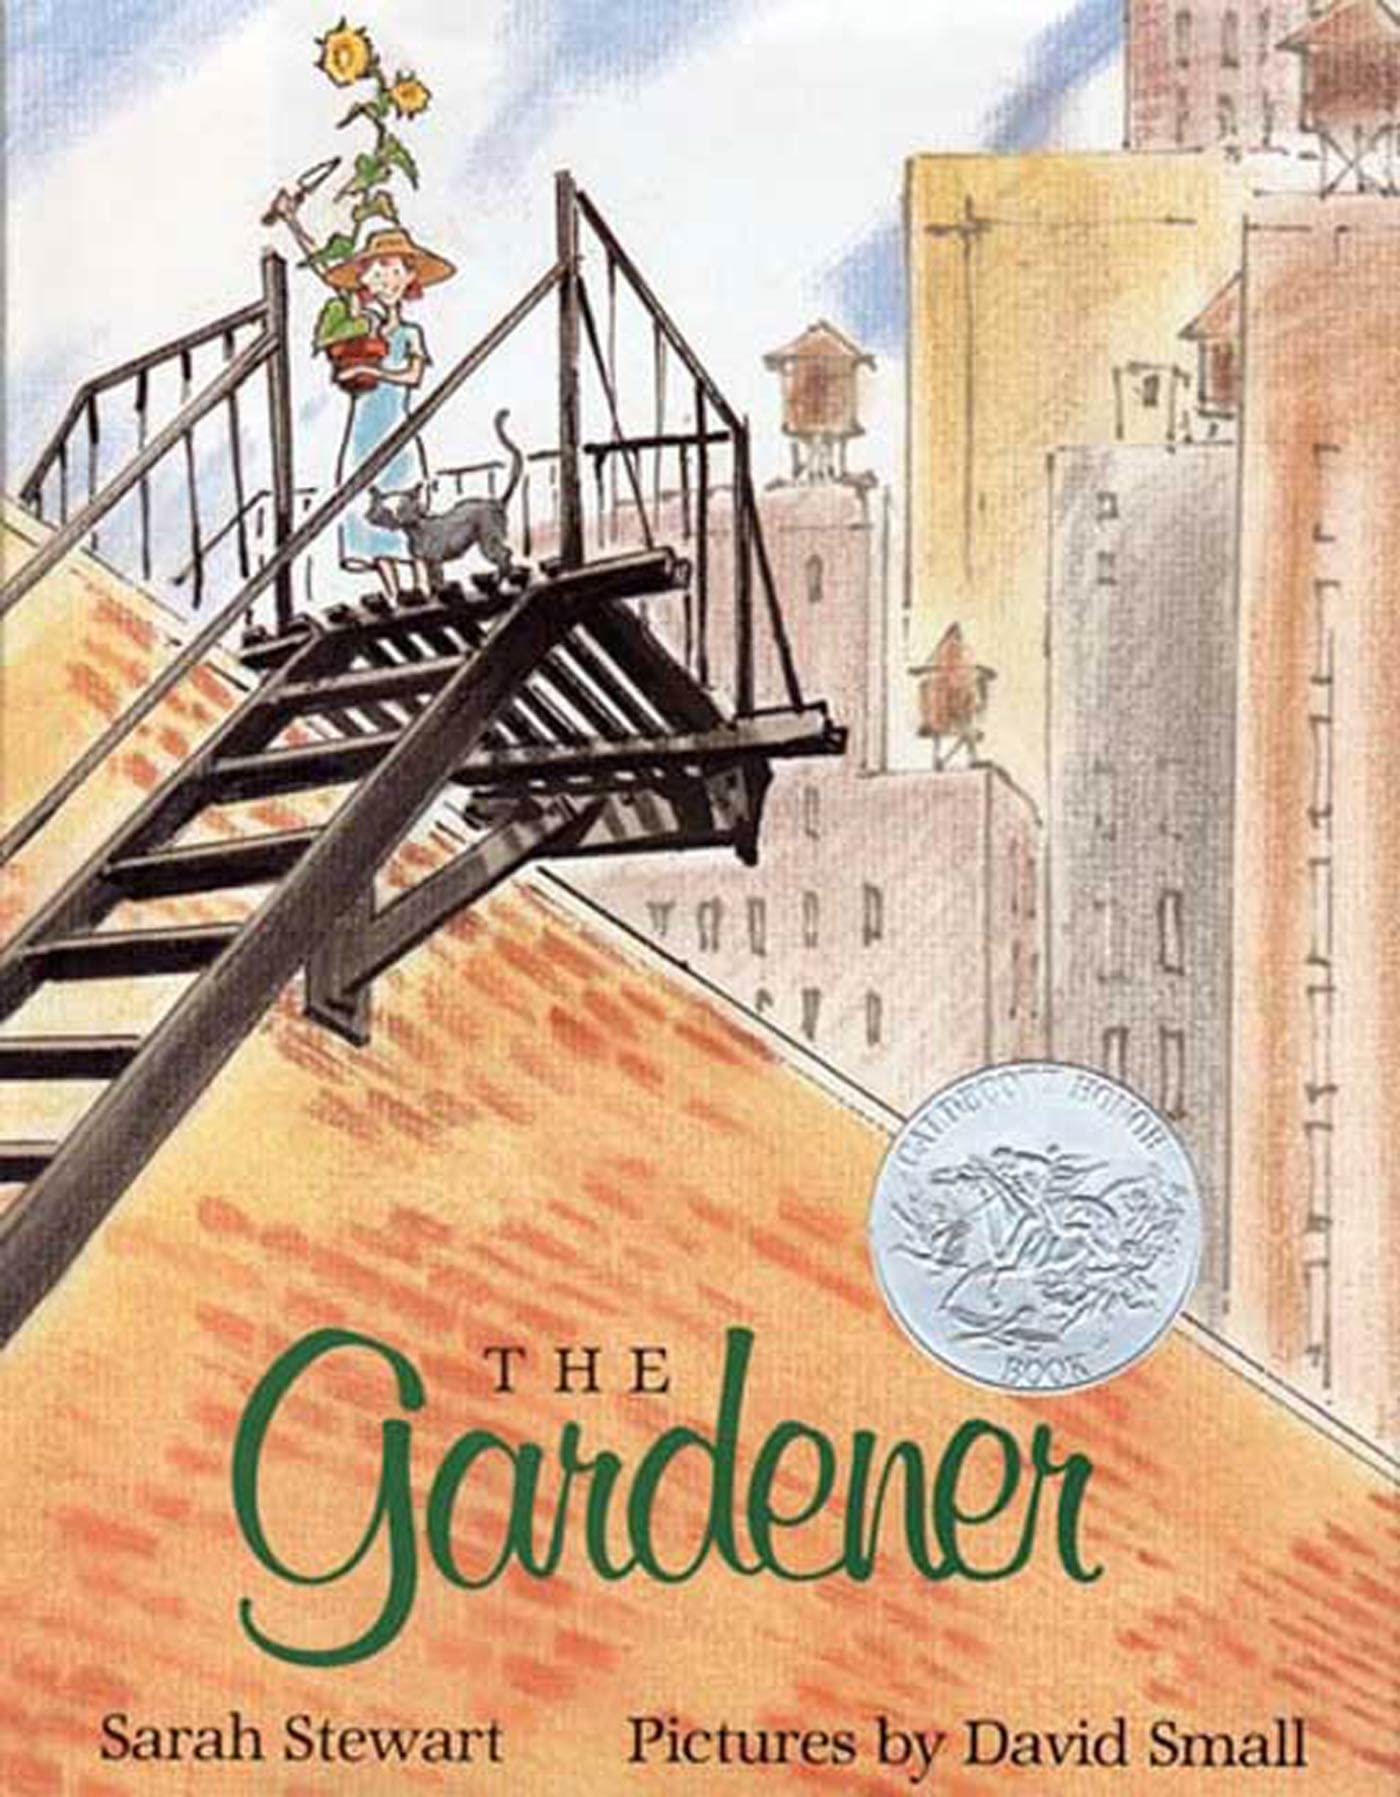
(These might change depending on what I can get at the Library and what we own, but here is a fun list of books to check out!)

Fiction:

Non-Fiction:


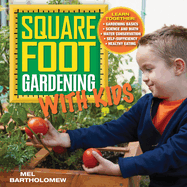
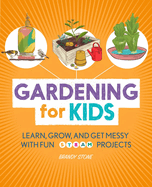
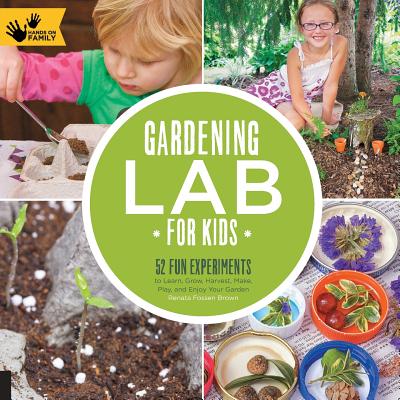
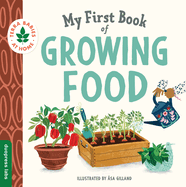
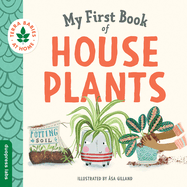
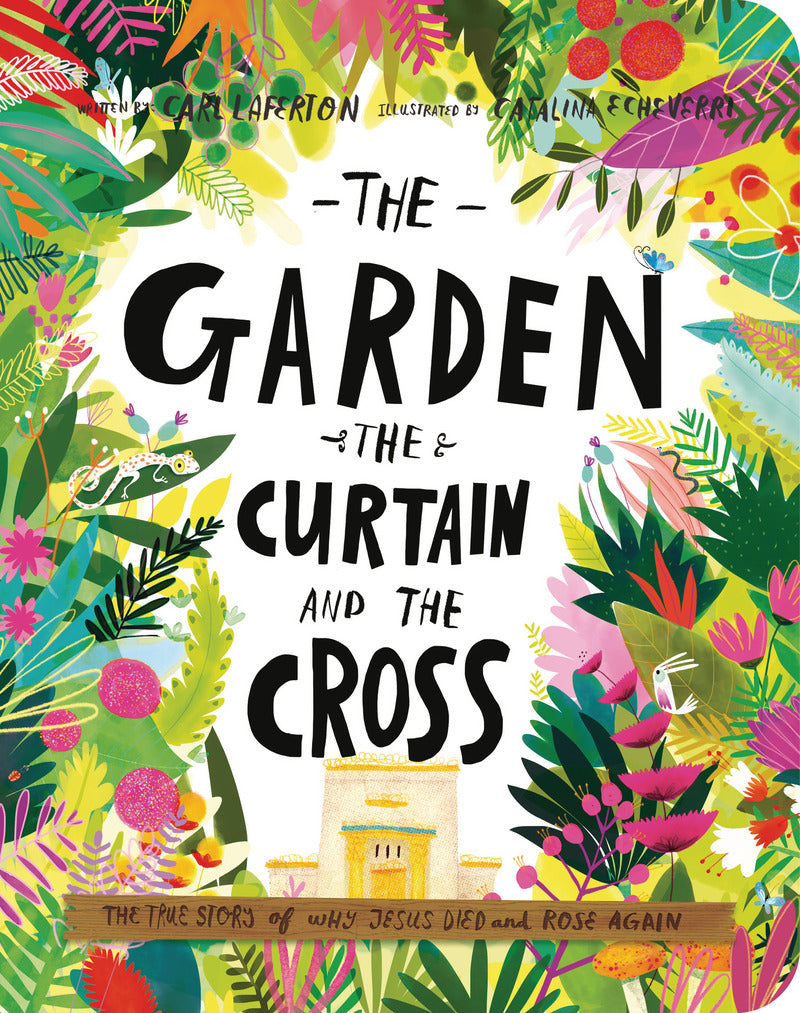
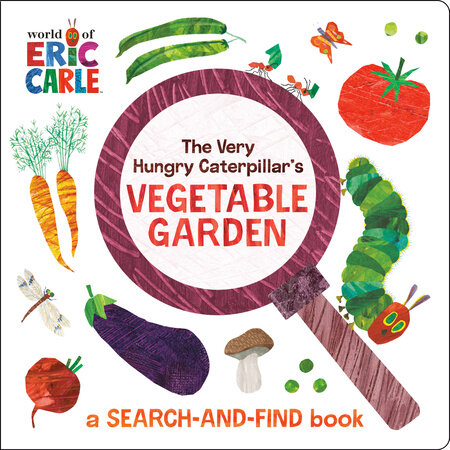
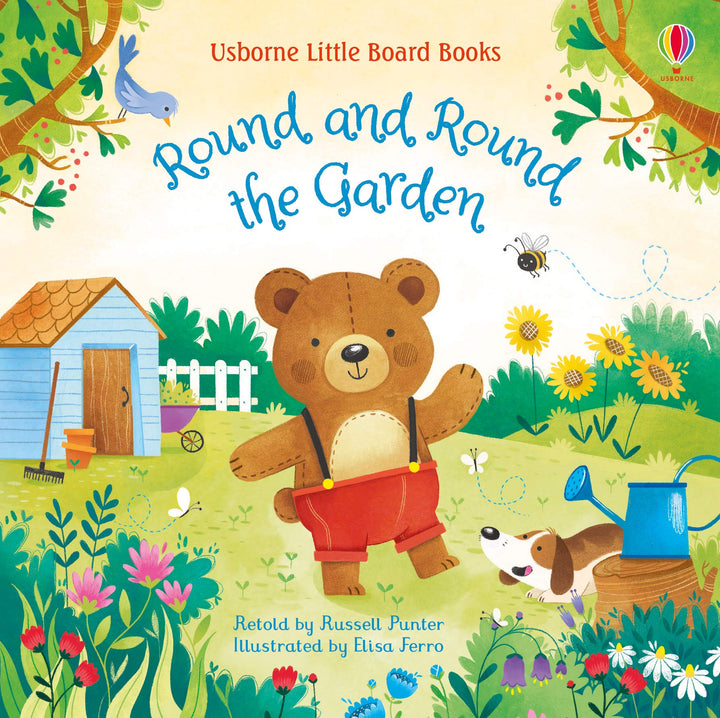
Picture and Board books:


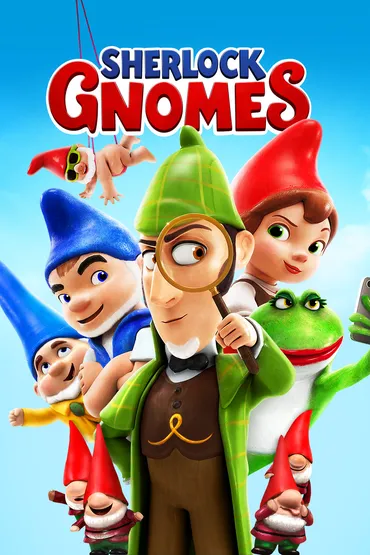
Movies:


Youtube videos:
My Garden themed playlist here

ASL:
Flower: With your dominant hand, make a "5" handshape (fingers spread apart) and place it near your face. Then, move your hand outward and away from your face, as if you're showing the blooming of a flower.

Tree:
With your dominant hand, form a "T" handshape (make a fist and extend your thumb up). Place your fist on top of your non-dominant arm (which is held horizontally) to represent the trunk and branches.

Garden:
Use both hands in a "G" handshape (thumb and index finger extended) and move them in a circular motion in front of you, as if you are outlining the shape of a garden.

Plant:
With your dominant hand, make a fist and place it palm down on the non-dominant hand, which is held flat. Then, lift the dominant hand up as if the plant is growing.

Sun:
Form your dominant hand into a "C" shape and place it above your head. Move it in a circular motion to represent the sun shining.

Water:
With your dominant hand, form a "W" handshape (three fingers extended) and move it downward, as if pouring water.

Grass:
With your dominant hand, make a "G" handshape and move it back and forth close to the ground, mimicking the motion of grass swaying in the wind.

Seed:
With both hands, make a fist and then open them slightly as if you are planting a seed in the ground. You can also mimic the action of putting a seed in the soil.

Harvest:
Use your dominant hand to mimic the action of picking fruit or vegetables. You can pretend to reach up and pull down, as if you are harvesting from a plant.

Earth/Dirt:
With your dominant hand, make a flat handshape (like a "B") and move it in a circular motion on the palm of your non-dominant hand, representing the earth or soil.

Fruit:
Use your dominant hand to form a fist, then extend your fingers out like you're showing different types of fruit. You can also use specific signs for different fruits, like an apple or banana.

Vegetable:
Similar to fruit, you can use a "V" handshape and move it around to represent different types of vegetables.

Life Skills:
These aren't necessarily life skills, but skills I still want them to learn.

For an 11-Year-Old:

Planting Seeds:
Learning how to select seeds, prepare soil, and plant them properly. 

Watering Plants: Understanding the importance of watering plants and how much water different plants need. 

Weeding: Identifying and removing weeds to help garden plants thrive. 

Composting: Learning about composting and how to create a compost pile for organic waste. 

Garden Planning: Understanding how to plan a garden layout, including which plants grow well together.

 Harvesting: Knowing when and how to harvest fruits and vegetables at the right time. 

Pest Control: Identifying common garden pests and learning safe ways to manage them. 

Garden Maintenance: Regularly checking on plants, pruning, and maintaining the garden space. 

For a 2-Year-Old: 

Watering: Using a small watering can to help water plants, learning the action of pouring. 

Digging: Playing with a small shovel or trowel to dig in the dirt, which helps develop motor skills. 

Planting: Helping to place seeds or small plants in the soil with adult supervision. 

Picking Flowers: Learning to gently pick flowers or leaves, which encourages care for living things. 

Sorting: Sorting different types of seeds or leaves by color or shape, which helps with categorization skills. 

Observation: Encouraging them to observe how plants grow over time, fostering curiosity about nature. 

Playing with Soil: Sensory play with soil or sand, which is important for tactile learning. 

Identifying Colors: Recognizing and naming different colors of flowers and plants in the garden.

Other stuff:
Finn is learning to play the electric guitar, so the songs I want him to practice this month are:
Blackbird
Octopus's Garden
In the Garden
Scarborough Fair

Field Trips:
Botanical Gardens: Explore the diverse plant life and beautiful landscapes. Many have educational programs too!

Farm Visits: Check out a local farm where you can see crops, animals, and learn about sustainable farming practices.

Community Gardens:
Visit a community garden to see how neighbors come together to grow food and flowers.

Nature Reserves: Take a trip to a nature reserve where you can learn about local flora and fauna in their natural habitat.

Orchards:
Go apple or peach picking, and learn about fruit cultivation and harvesting.

Flower Shows: Attend a local flower show or festival to see unique plants and floral arrangements.

Gardening Workshops: Participate in a workshop at a local nursery or garden center to learn about gardening techniques.

Local Nursery or Plant Store

Coloring pages:


I Scream, You Scream Horror Movie Challenge Intro

I Scream, You Scream Horror Movie Challenge is a feature where every month I am challenging myself to watch every movie on one bingo card. T...